Quick takeaway: Crafting a custom stuffed animal of your dog in 10 clearly photographed steps keeps warm fur within reach and turns grief into creative joy.
Why Hands-On Healing Works
Touch calms the nervous system, and DIY rituals give grief a purpose. The American Veterinary Medical Association reports that tactile keepsakes can shorten complicated-grief duration. Meanwhile, PetMD notes that weighted plush toys help regulate heart rate through gentle pressure—mirroring therapy dogs’ effect.
What You’ll Need (quantities for a 14 in / 35 cm plush)
| Item | Qty | Why It Matters | Pro-Tip |
|---|---|---|---|
| High-res photos (front/side/back) | 3–5 | Color + proportion reference | Print on matte 8 × 10 for pinning |
| Freezer paper | 2 US Letter sheets | Iron-on pattern transfer | Peel & reuse up to 3 × |
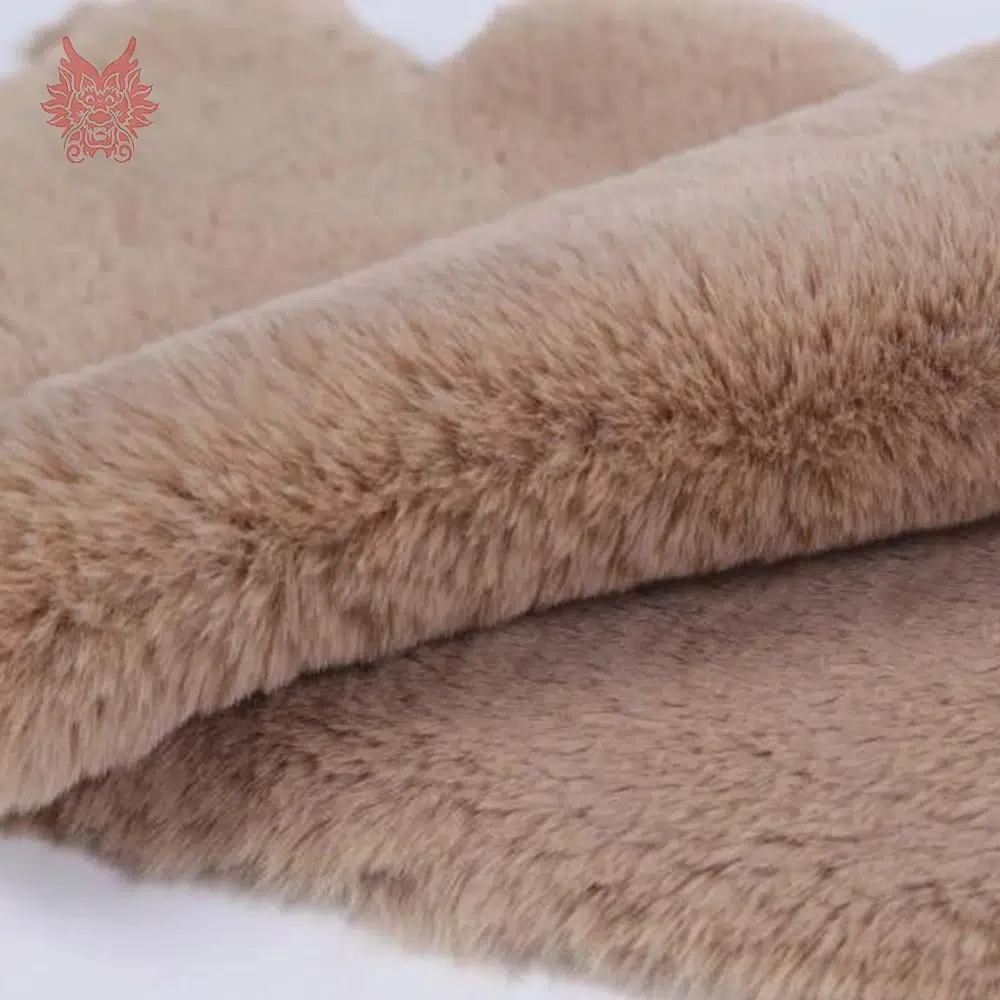
| Luxury minky faux-fur (main coat) | ¼ yd | Realistic nap & stretch-control | Order extra for mistakes |
| Accent faux-fur (markings) | fat-eighth | Blaze, socks, mask | Choose low-pile for facial work |
| Polyester thread | 1 spool | Seam strength | Match base fur shade |
| Glass or safety eyes | 12 mm pair | Life-like sparkle | Embroidered eyes for < 3 yrs old |
| Polyester fiberfill | 200 g | Soft bulk | Blend in layers to avoid lumps |
| Glass beads (weighted pouch) | 100 g | Realistic heft | Contain in muslin sachet |
| Curved hand-sewing needle | 1 | Invisible ladder-stitch | Reduces wrist strain |
| Water-soluble fabric marker | 1 | Seam & marking guide | Disappears with damp cloth |
| Fabric glue (washable, non-toxic) | 10 ml | Tricky tiny spots | Dab, never smear |
| Small scissors & slicker brush | 1 each | Fur sculpting | Brush then trim for natural blend |
10-Step Detailed Guide
1. Scale & Print Your Template
- Measure shoulder-to-rump length on the photo.
- Resize digital silhouette in free software (e.g., Canva) so print equals real measurement.
- Print mirror pairs (body, head, limbs, tail).
2. Iron-On & Trace
Lay freezer paper shiny-side down on wrong-side of fur; press with warm iron (no steam) 3 s. Outline with water-soluble marker. Repeat for all mirrored pieces.
Safety: Keep iron at ≤ 120 °C to avoid melting acrylic pile.
3. Cut with the Nap
Use tiny scissors to snip backing only—slide blades under fur to preserve outer hairs. Mark arrow on each piece showing fur direction to avoid a “cow-lick” plush.
4. Install Eyes & Nose Before Assembly
- Poke eye slits through head front using awl.
- Insert safety eye posts; lock washers from inside.
- Satin-stitch nose directly onto muzzle fabric for durability.
ASPCA craft-safety tips emphasize locking eyes if gifting to children.
5. Sew the Head
Right-sides together, backstitch along snout → crown. Clip curves every 1 cm so seams relax when turned. Turn right-side out with chopstick; push seams crisp.
6. Assemble Body & Limbs Separately
- Limbs: Seam outer edges; turn. Stuff halfway—pinch test: limb should bend softly.
- Tail: Fold in half, sew, turn. Brush fur downward for plume.
- Body: Sew from tail opening up dorsal seam to neck, leave belly gap for stuffing.
7. Attach Limbs & Tail (Hidden Seam Method)
Slide limb openings into body apertures right-sides touching. Stitch around circle twice for strength. For floppy ears, add a felt stabilizer to prevent flop fatigue.
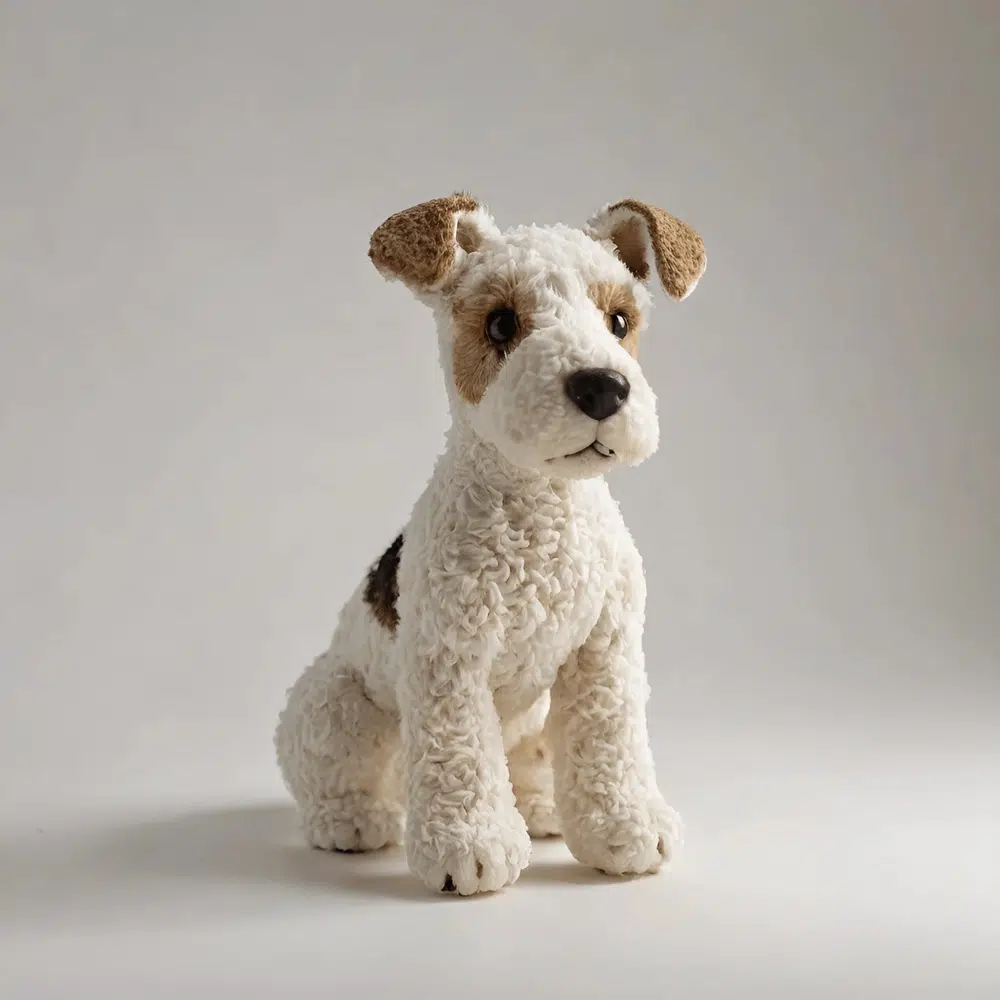
8. Weight & Stuff (Image 3)
Sew glass beads into muslin sachet, position in chest cavity. Layer fiberfill around pouch in 15 g handfuls, sculpting shoulders and haunches. Use the slicker brush through belly gap to pull fur ends out of seams—blends joints flawlessly.
9. Close & Sculpt
Ladder-stitch belly gap with curved needle:
- Slide needle through fold A, grab 3 mm fabric.
- Cross to fold B, repeat.
- After 4 cm, pull thread—stitch vanishes.
Trim muzzle fur to 4 mm, eye ridge to 2 mm for expression.
10. Add Personal Touches
- Tiny bell from original collar under chin.
- Embroider name & adoption year on hind paw pad.
- Lightly airbrush (optional) dark mask around eyes using Copic marker E29.
American Humane notes sensory cues like jingling collars boost positive memory recall.
Fast-Fix Troubleshooter
| Issue | Likely Cause | Fix |
|---|---|---|
| Seams burst on stuffing | Overfilled / loose stitch | Remove 20 % stuffing; re-stitch with 2 mm length |
| Head tilts sideways | Neck seam misaligned | Unpick 2 cm; realign center notch; resew |
| Fur looks “matted” | Cut through pile | Use slicker brush, steam 5 cm away, fluff |
Too Busy to Sew?
Our artisans at MY Kids can craft a museum-grade plush in 7–10 days from your photos—archival faux-fur, UV-safe airbrushing, handwritten certificate. Email sales@mykidspetsupply.com or explore keepsakes at mykidspetshop.com—we’ll stitch every freckle while you rest.
FAQs
How long will a beginner need to complete all 10 steps?
Most first-time crafters finish across two afternoons—roughly 10 hours total, including photo prep and breaks.
Can I machine-sew instead of hand-sew?
Yes. Use walking foot, 3 mm stitch length, and slow speed around curves; still hand-ladder the final belly gap for invisibility.
Is real dog fur safe to insert?
It is if sealed in a breathable muslin sachet; avoid direct mix with stuffing to prevent matting and odor.
What size eyes for small breeds like Chihuahuas?
8 mm safety eyes create proportional realism for ≤ 10 in plush; position 12 mm apart.
How do I clean the plush later?
Spot-clean with damp cloth; for deeper dust, use low-suction vacuum over pantyhose to protect fur pile.
Last Updated: July 2025